The idea with this workflow is to have your daily task list split up into four lists based on priority and then work off one list after the other.
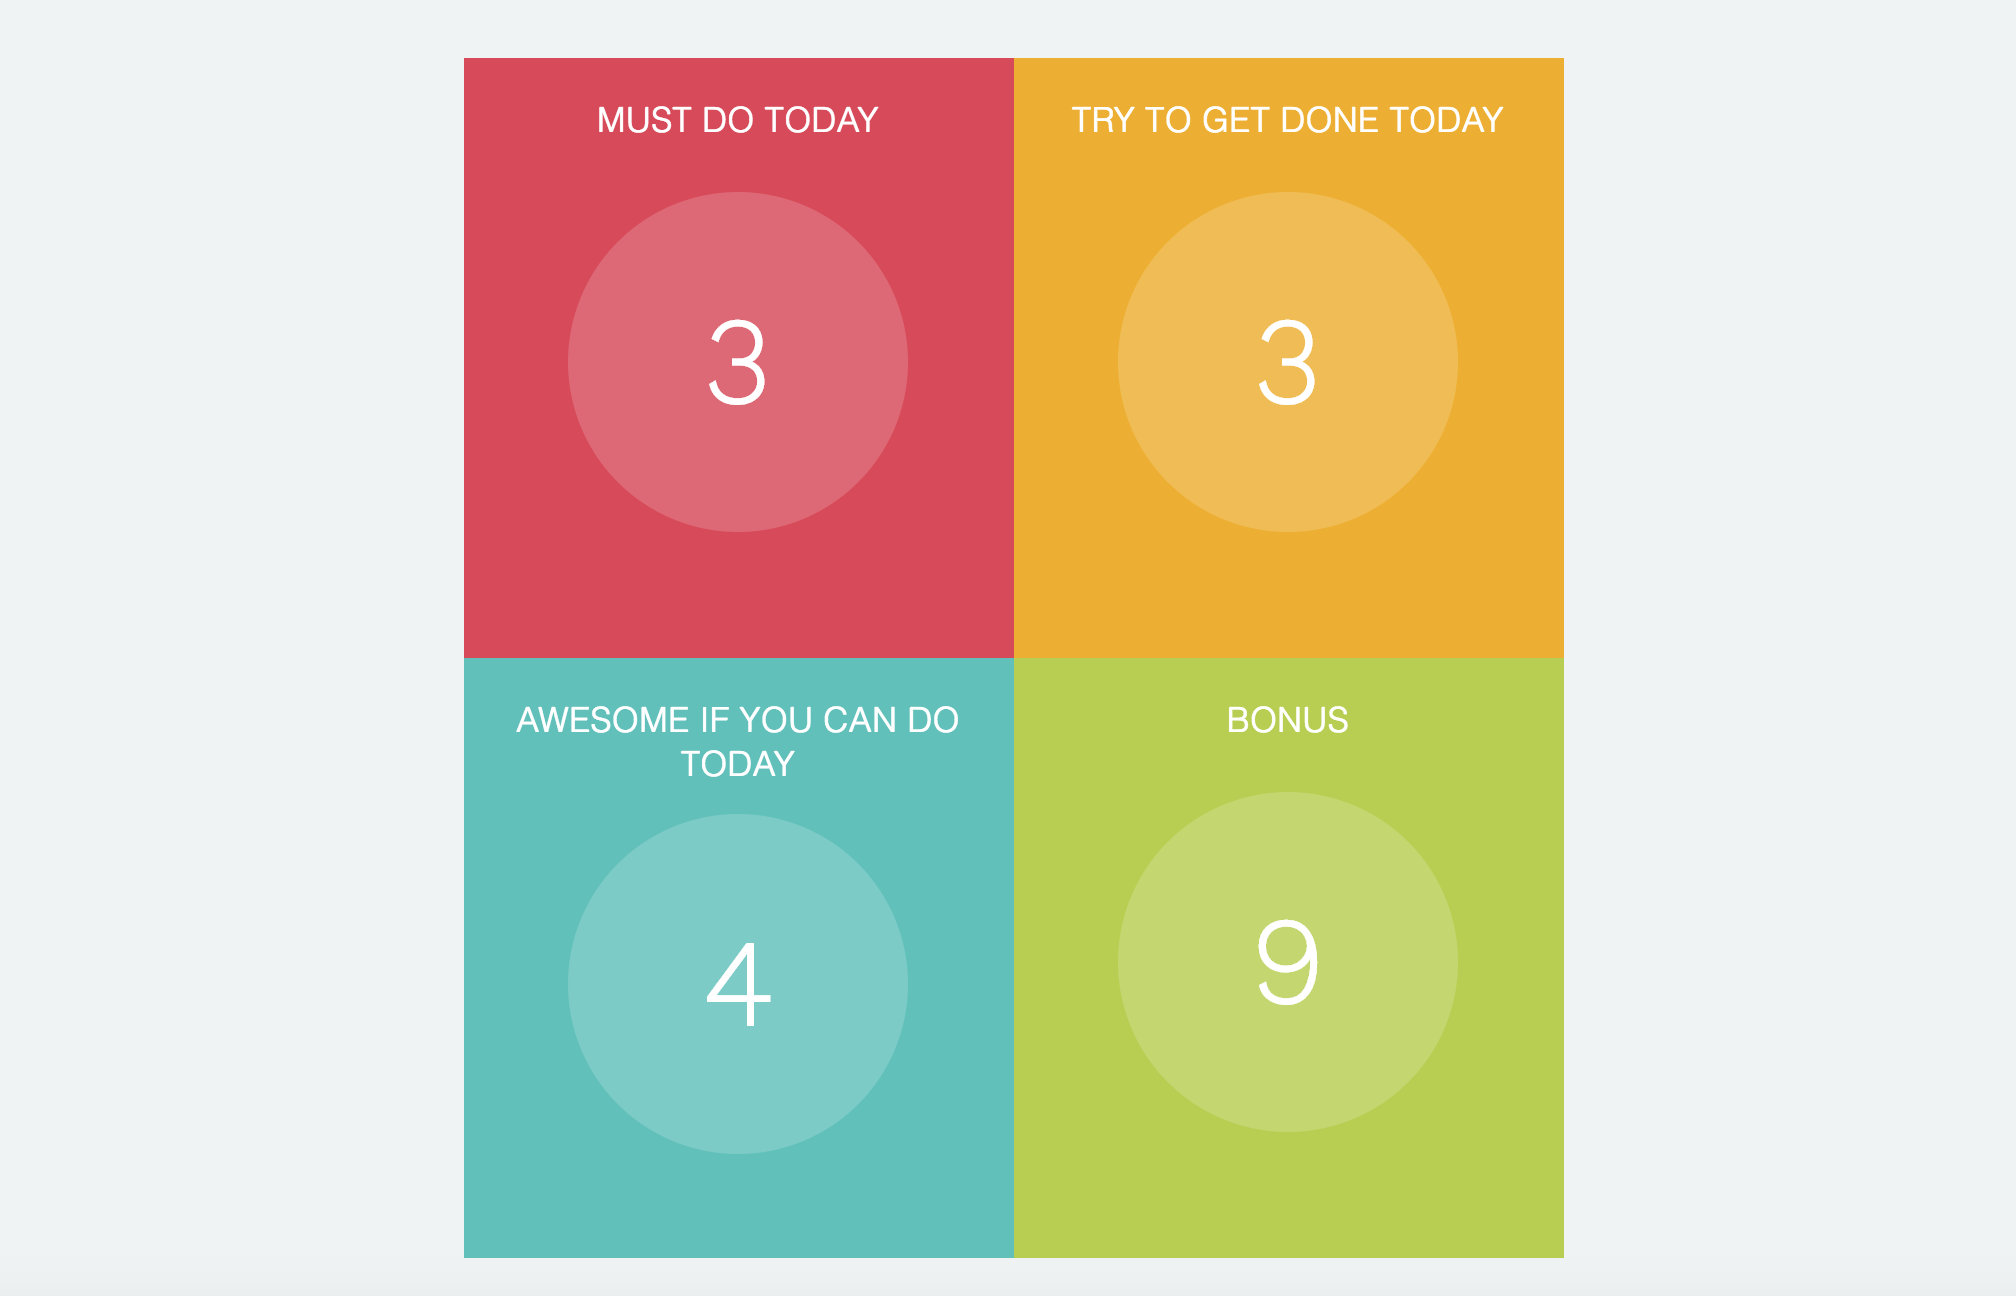
The four lists will be displayed as a Matrix like so:

On the top left you have the tasks you absolutely must do today. Once those are finished you move on to the list next to it and once you tackled those you move on to the next quadrant…
Is this workflow right for you?
This workflow could work well for you if you feel overwhelmed by the long list of tasks in your day.
Splitting up a long list into 4 smaller lists not only makes them feel more manageable (short lists tend to get done more often!) but it also creates nice milestones to hit that boost your motivation along the way.
Visually, the concise display of the Matrix (squares + numbers!) makes a long list feel much less overwhelming too.
Use daily or to work off a backlogged daily list
You can use this workflow idea either on a more permanent basis along with a day planning approach or strategically at times when your daily list has gotten too long and you need a fun way to get back to a clean slate.
How to set up this workflow
Strategies to turn on
In order to set up this workflow you need to have the following strategies turned on:
Set up your Smart Lists
The first step is to set up the four Smart Lists we need:
- Scheduled today & red priority star
- Scheduled today & orange priority star
- Scheduled today & yellow priority star
- Scheduled today & no priority star
Don’t worry about what to call them, just make sure you can easily identify them based on the name. Something like: “today red star” is sufficient.
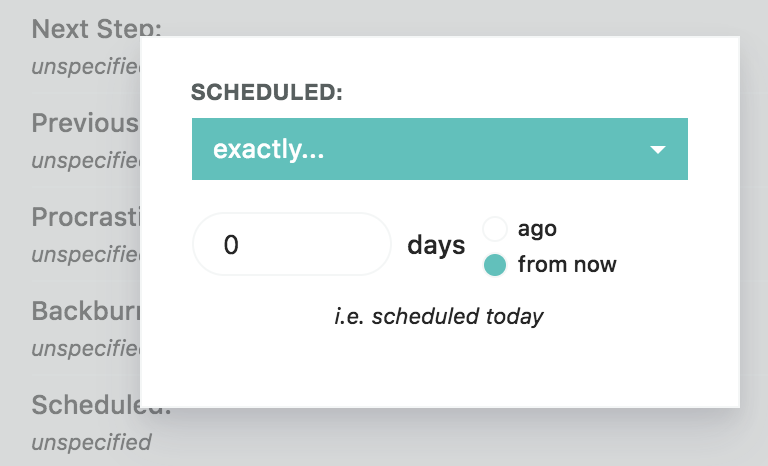
To set up the filters you use the “Scheduled” and “Priority” filter as shown in the images below.


Set up your Matrix
Once you set up your Smart Lists you can go to the Matrix strategy settings and
- connect each quadrant with the correct Smart list
- give the quadrant a fitting name
- pick a color for each quadrant
That is it! You are all set. Read below on how to use the workflow.
How to use this workflow
Every day you create your daily list as usual.
So, if you are used to scheduling tasks from the Master List into your day, do that.
Once you have your to-do list for today go to step 1.
Step 1. Assign stars to your tasks.
Go through your list and decide how important each task is.
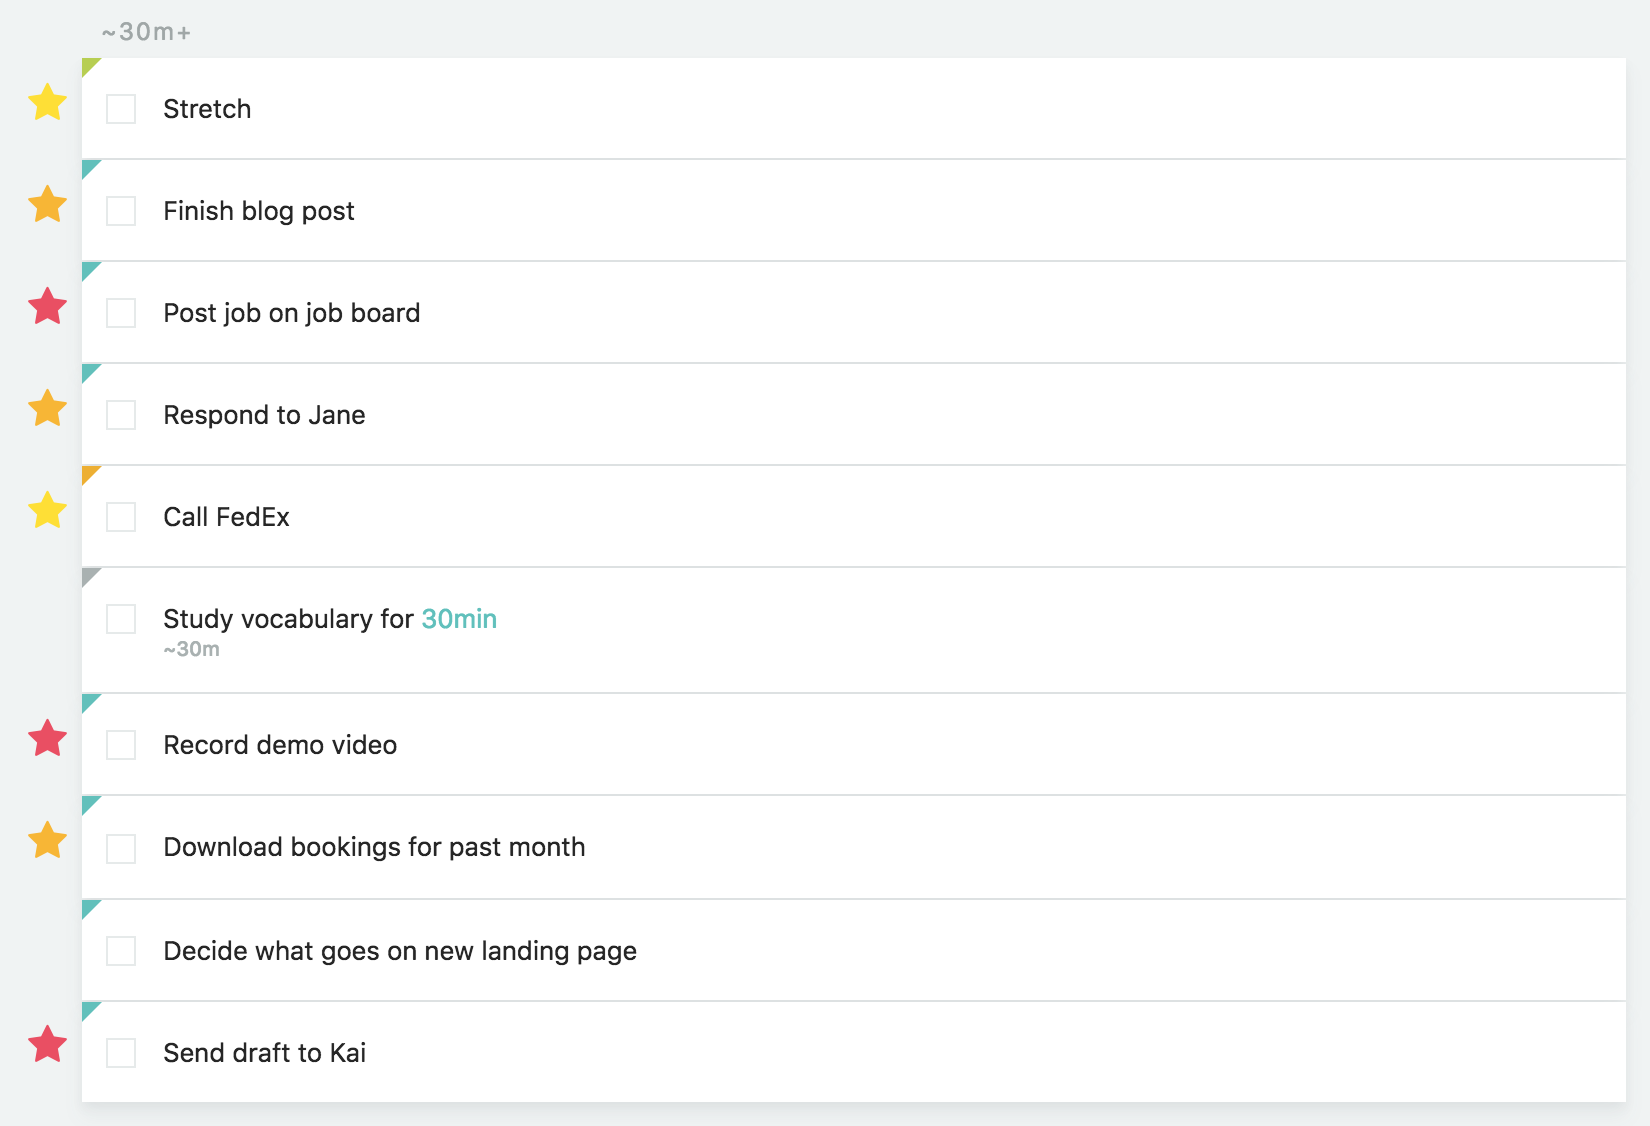
The most important tasks (must do today) get a red star. The tasks with the next level of importance get an orange star. Somewhat important tasks get a yellow star and bonus tasks don’t get any star.
Everything is important
This step sounds simple in theory but many people struggle with the idea of assigning a rating of importance to their tasks. Isn’t everything “important”? Or why else would it be on your list, right?
If you are struggling to assign stars it can be helpful to take some time to more clearly define what “important” means to you.
Perhaps you want to factor in urgency or how much something is weighing on you (get those out of the way ASAP) or perhaps you want to define importance based on how closely it is tied to your main goal at the moment.
Also read tip #1 if you have a hard time assigning stars.
But ultimately, if you find yourself struggling too much with this step, maybe this workflow is just not for you! 🙂

Step 2. Work off your tasks
Once you have prioritized your tasks you can now scroll up and focus on the Matrix.
The key idea with this workflow is to work off one quadrant at a time and only move to the next one when the previous one is completed.
You start with the most important tasks and only when those are finished do you move on to the list with the next level of priority.
How to pick tasks
It is up to you how you pick which tasks to work on first within the quadrant. You can always work on the one Marvin thinks you should do next by clicking the “suggested” button. Or just get one at random with the “random” button.
Workflow tips
Tip 1 – Limit star number
It can be helpful to stick to a fixed number of stars you are assigning for each level. Especially for the high priority levels.
This not only makes it easier to assign the stars but you are also more likely to get to the 3rd or 4th quadrant which will feel really satisfying.
So for example, each day aim to give out only 2 red stars and 3 orange stars.
Tip 2 – Use the auto-pick buttons
In the Matrix settings you can specify what happens when you click a quadrant. It can either give you a task at random, give you the task Marvin thinks you should do next (based on a secret algorithm, show you the entire list so you can pick a task or just give you the task at the top of the list (use this in combination with a sort order in the Smart List).
Tip 3 – Assign frogs
If you use the frog strategy this is also a good time to think about which tasks you dread and assign them a frog. Marvin takes your dread level into consideration when suggesting a task to you. 😉
Tip 4 – Assign time/duration estimates
Any day planning workflow benefits from time estimates. Putting too much on our plate for a day is one of the most common problems. It leads us to always feel disappointed with what we got done today, because it is never EVERYTHING we wanted to.
Assigning time estimates to tasks makes us realize before we get frustrated with ourselves that our day is just way too packed.
And check out all these other benefits of using duration estimates in your tasks.

2 Comments
Alicia Drake
Hi Christina, I’m new to Amazing Marvin – thanks so much for creating it. I’m having trouble finding a red star, I can inlay find a yellow star and a frog. Thanks so much for your help, Alicia
Christina Willner
Hi ALicia,
If you go to the strategies and click on the priority strategy you can change the settings. There is likely a checkbox checked that you only have only two priority levels (star or no star). Disable this and you get three different stars.